
Professional Underground Dog Fence Installation
A dog fence is only as good as its installation and its training. DIY kits from the big box store use thin wire, shallow burial and no training plan, which is why so many end up in the garage. We do it right the first time.
Step 1
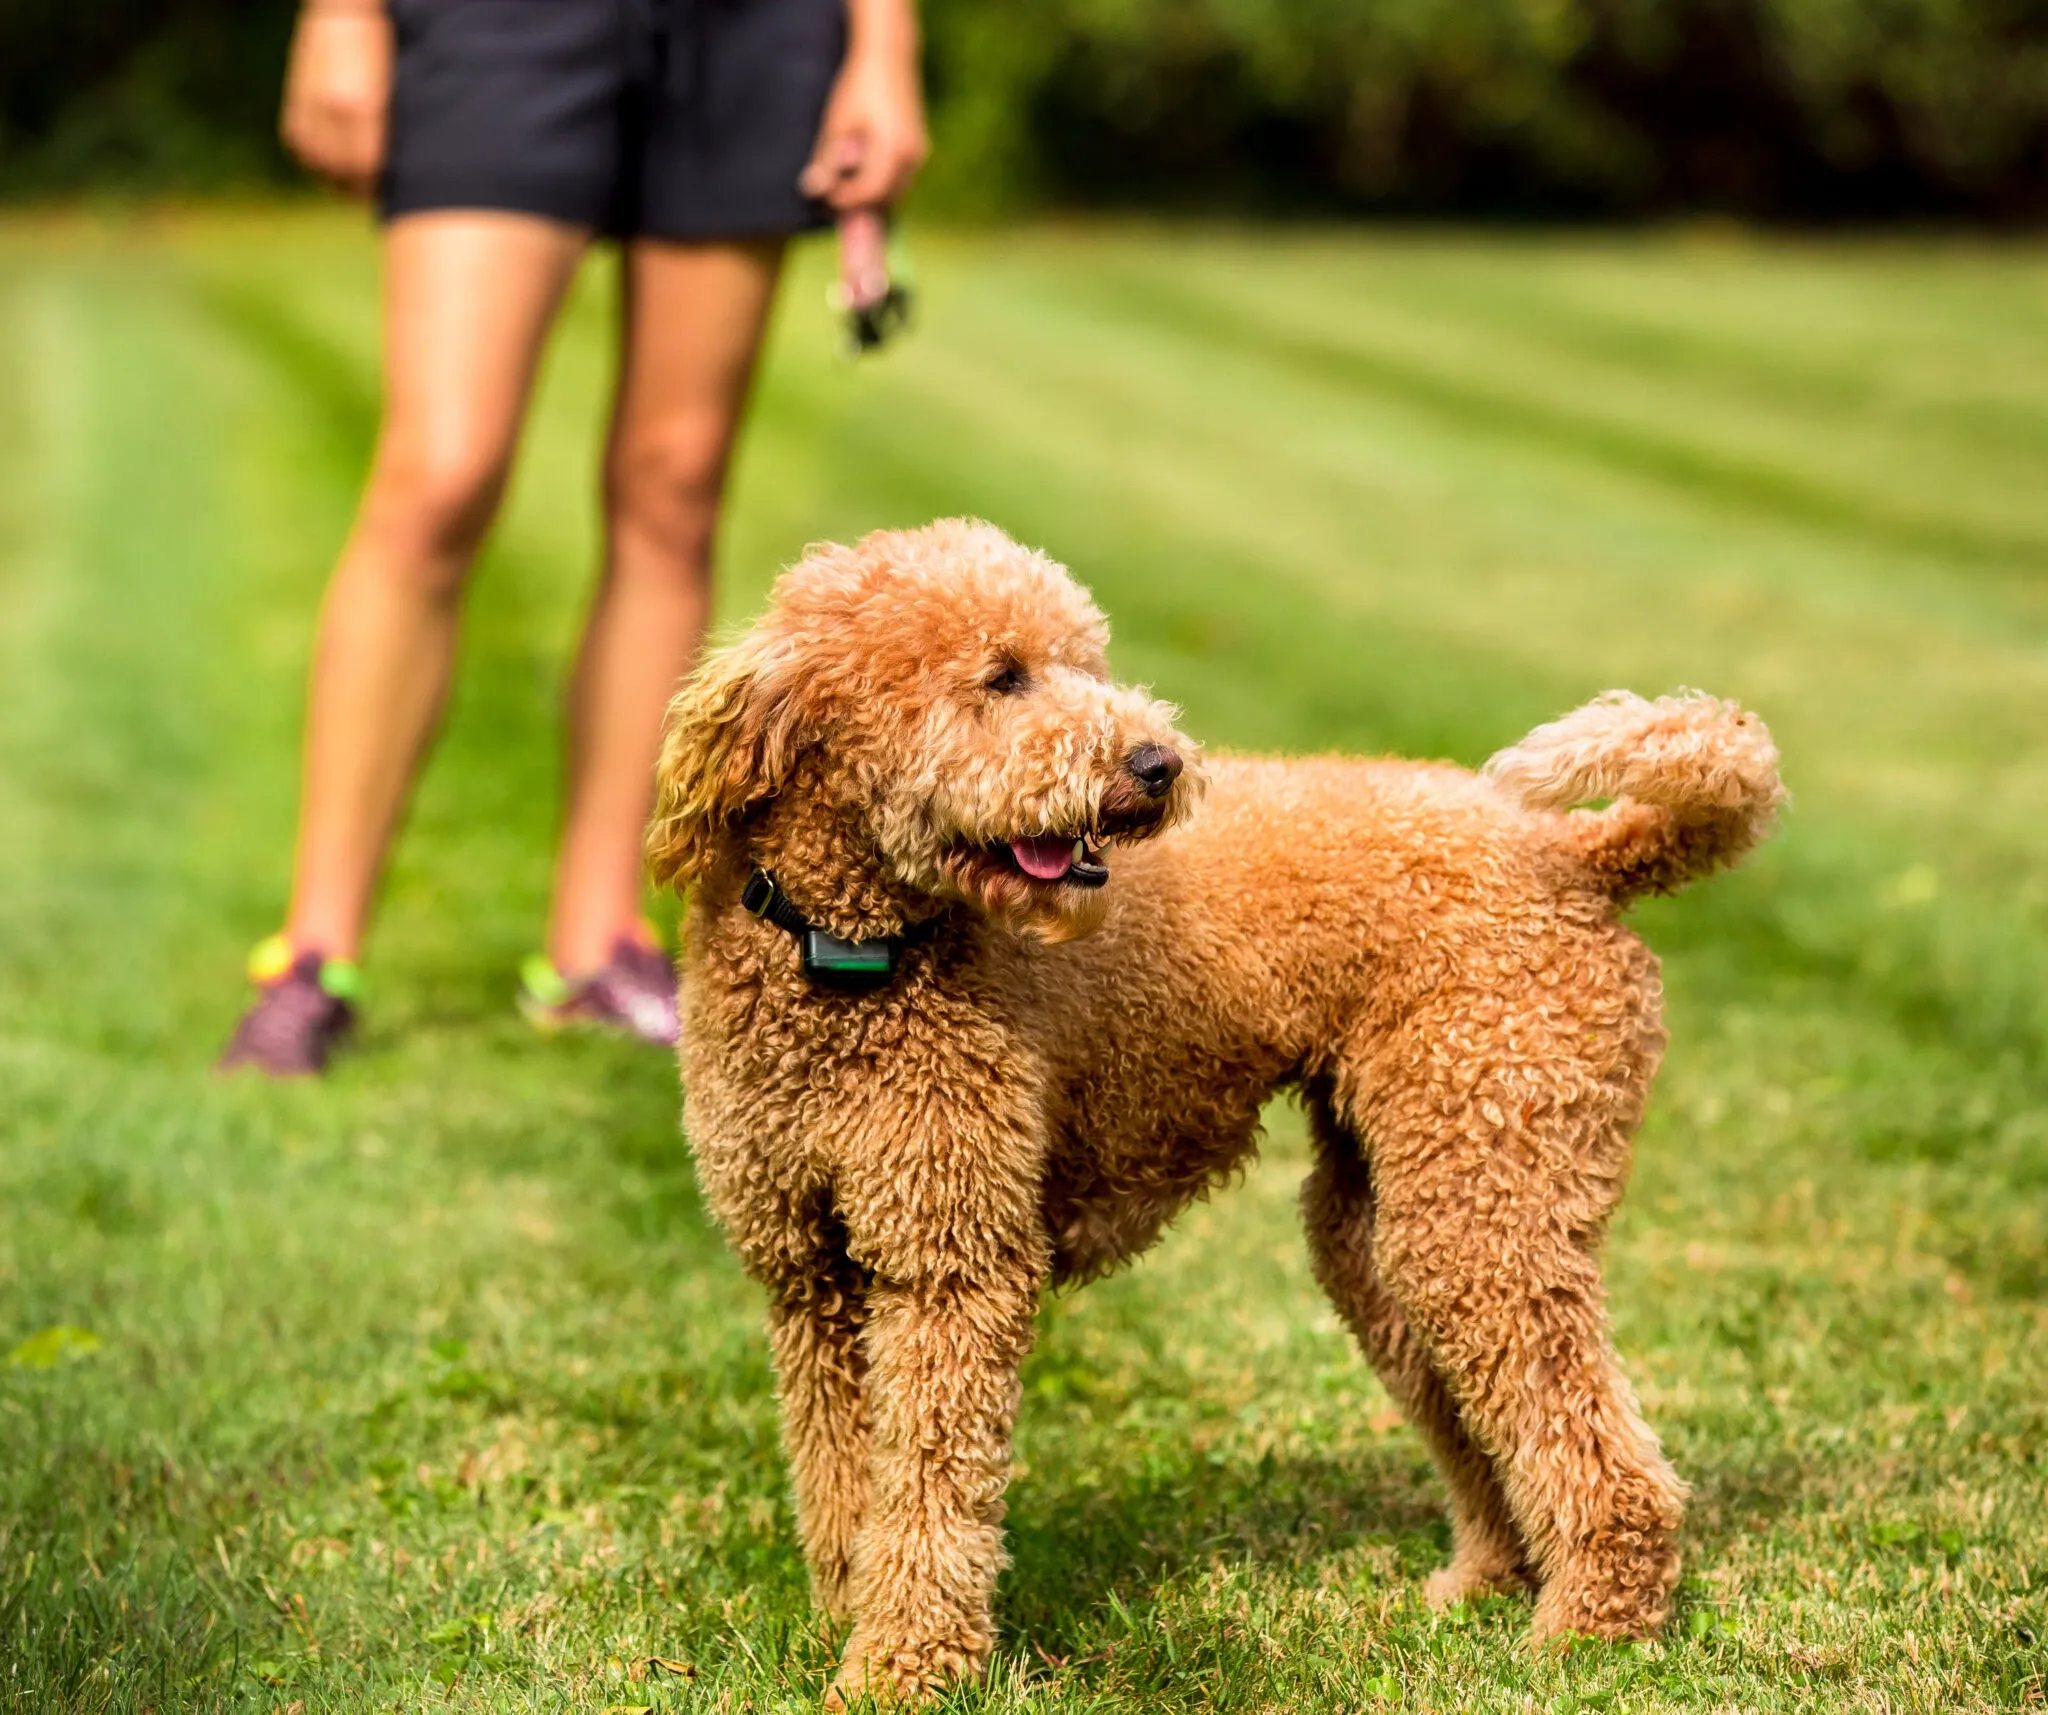
We start by meeting you and your dog
We walk your property, note driveways, gates, gardens and problem spots, and talk through how you want to use your yard. Then we recommend a layout and a Pet Stop receiver matched to your dog’s size and temperament. No pressure and no obligation.
Step 2
Laying out and burying the boundary wire
Once the layout is set, we mark the boundary and bury the wire using a trencher or wire-laying equipment that cuts a narrow slit in the lawn. The slit closes back up quickly, and in most yards you can’t tell where the wire runs within a few weeks. Where the boundary crosses a driveway or sidewalk, the wire is set into a shallow saw cut and sealed so it’s protected from traffic and weather. In landscaping beds, wire is tucked under mulch or along borders.
Step 3
Installing the transmitter
The transmitter is the brains of the system. It sends a radio signal through the boundary wire that your dog’s receiver collar picks up. It’s typically mounted indoors in a garage, basement or utility area close to a power outlet, where it’s protected from weather. Before we finish, we test the signal around the entire perimeter and set the width of the warning zone to fit your yard and your dog.
Step 4
Training your dog to the boundary
The equipment is only half the system. Your dog has to understand it. A well-trained dog learns that the warning tone means “turn around,” and most never need more than a mild correction once they get it. We start your dog’s training at installation and show you how to keep it going at home. Training usually follows a simple, gradual progression:
Most dogs pick up the basics within a couple of weeks of short daily sessions. Puppies, rescues and very stubborn dogs may need a little more time, and that’s okay. Short, positive sessions of 10 to 15 minutes work better than long ones.
Step 5
Protected for the life of your system
Every system is backed by the Ultra Care warranty, covering lifetime manufacturing defects and accidental damage. Chewed collar? Transmitter Malfunction? You’re covered.
Ready to give your dog the yard?
Get a free, no-pressure quote from central Indiana’s Pet Stop experts. Call (317) 862-6606 or fill out the form and we’ll be in touch.
(317) 862-6606
Hours: Monday to Friday 8am to 5pm, Saturday by appointment.